
Godaddy shared hosting is probably one of the more prevalent hosting packages that we get asked about. Judge all you want ;-) but they have a stable product for very little money that works well for small business owners that have sites with little traffic. Recently someone asked me how to install EE in Godaddy Shared Hosting so I decided to make a tutorial out of it.
Navigate to the ExpressionEngine website
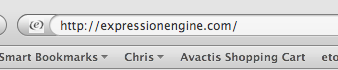
Enter www.expressionengine.com into the Navigation Bar
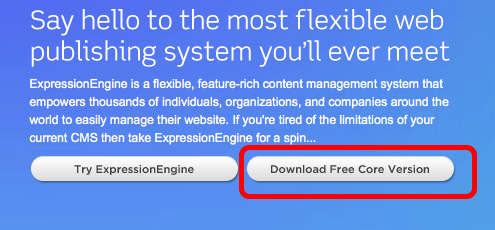
Click on the Download Free Core Version button
Read the License
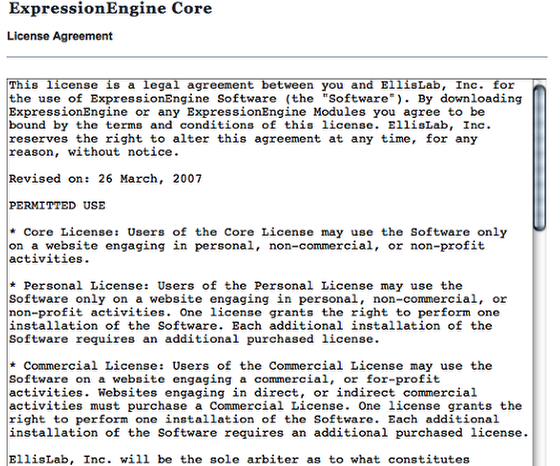
So many people just bypass the license Agreement Screen. I would like to suggest that you read it.
Click on the Accept License and Download button
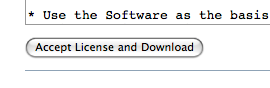
This should start your download.
Unzip the file that was downloaded
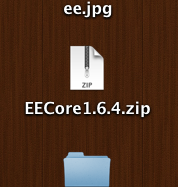
It should be titles EECore1.6.4.zip. The version may change slightly. For instance it may change to EECore2.0.zip or something similar.
Open the folder that was just created by unzipping the .zip file
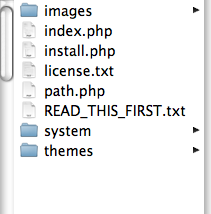
If you are on a PC what you see may look slightly different but the files and folders should all be present
Open your favorite FTP Client

Panic's Transmit ;-)
Connect to your shared hosting using the FTP program and upload the files
Navigate to Godaddy
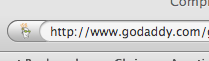
enter www.godddy.com into the Navigation Bar
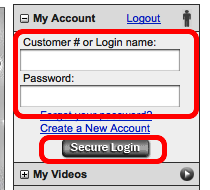
Enter your custom number and password and click Secure Login
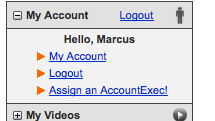
Click the my account link
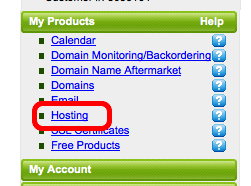
Click on the Hosting link
Click on the manage account link for the hosting account
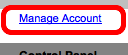
Make sure, if you have multiple accounts, that you select manage account for the hosting account that you used when you uploaded the ExpressionEngine core files
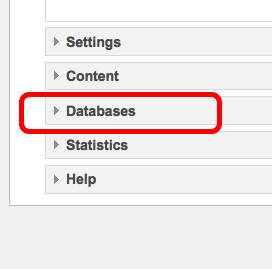
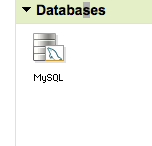
Select the databases section of the hosting control panel
Select MySQL
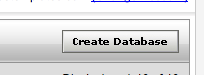
Click on the Create Database button
Fill in the blanks
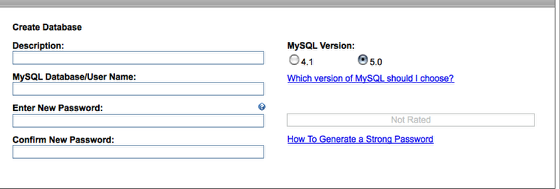
Fill in the Description, User Name, Password and select MySQL Version 5.0
Click on the OK button

Wait for a bit

Your DB will take a few minutes to move from a pending setup status.
After the DB is created

You will have to refresh the screen a few times but after awhile you hope to see the above...
Click on the edit button

You need to get the server name where the DB actually resides so click on the edit button.
Grab the Host Name

Either highlight and copy or write the Host Name down.
Navigate to the location where you FTP'd your files

Using your favorite web browser navigate to the location where you uploaded your files. Once there the system will forward you to the install.php file to walk you through the installation.
ExpressionEngine Installation Wizard
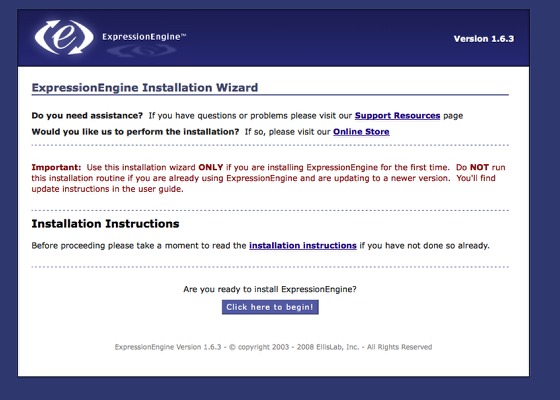
This is the first EE window that you will encounter. They have installation instructions too! ;-) But theirs don't have these cool images in them for the visual learners like me.
Are you ready?

If so then click the magic button and away we go!
License Agreement
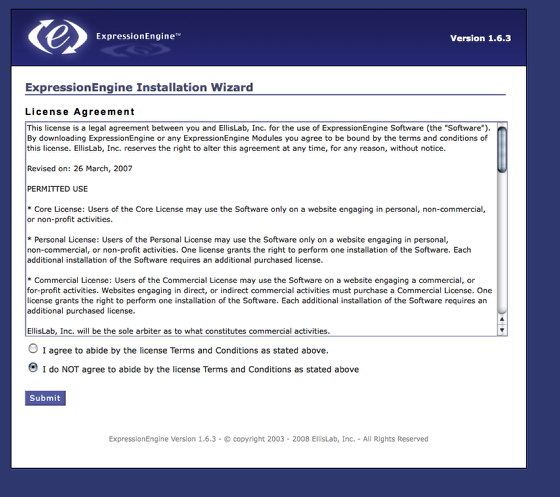
The good folks over at EllisLab make some great software don't they? Please don't steal from them. If you are using their software for commercial purposes then the money they charge is well worth it.
Do you agree?
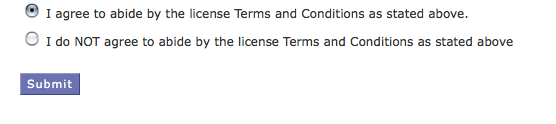
Make sure to change the radio button to the "I Agree" entry and then click on the submit button.
Move the System?
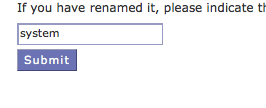
If you want to you can gain a bit of security by moving all of the system files. For the purposes of this tutorial though we will leave it as is. Click on the Submit button.
Server Settings
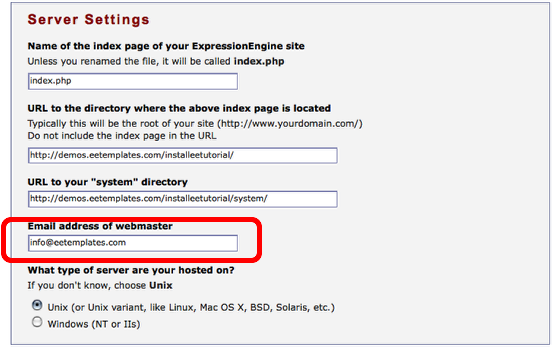
Most of the settings under server settings should be correct. You will want to add the email address of the webmaster.
Database Settings
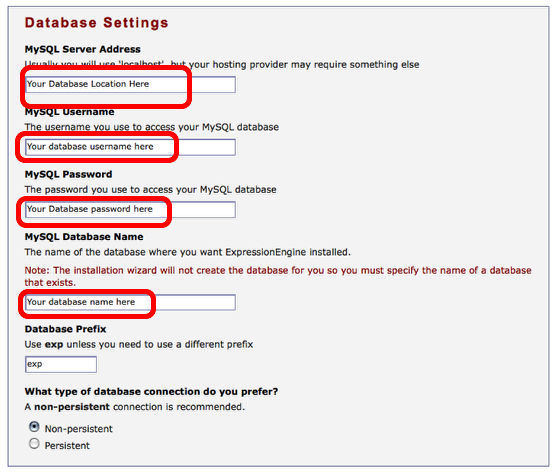
Remember those assumptions? You will notice the red boxes where you have mentioned the bits of information you will need. For most hosting the location will be localhost. But for some shared hosting plans (Godaddy comes to mind) the database location may be a remote server. The username, password and database name were generated by you when you created the database. Go ahead and fill those in.
Trust EllisLab
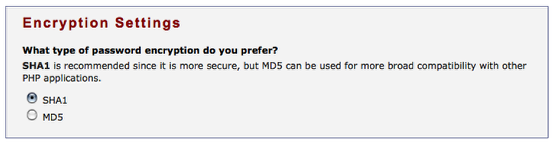
We like to trust the folks at EllisLab on this one. SHA1 all the way baby!
Admin Account Settings

Here is where you will create your account for accessing the control panel for EE. The username and password will be used to log in at http://www.somedomainhere.com/system. Your email address will receive any notifications the system sends. Your screen name is what others will see when you write an article. And the Name of your site is the long name that you want to appear in the Title portion of browser windows.
Localization Settings
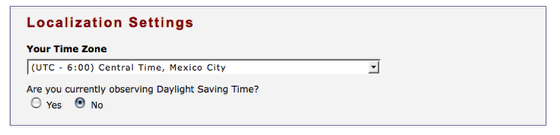
Tell em where you are located. Me? I am in the Central Time zone for the U.S.
This is where we come in.

This tutorial is based on installing the default template.
Click Here to Install

By clicking the button you should be done.
Congrats!
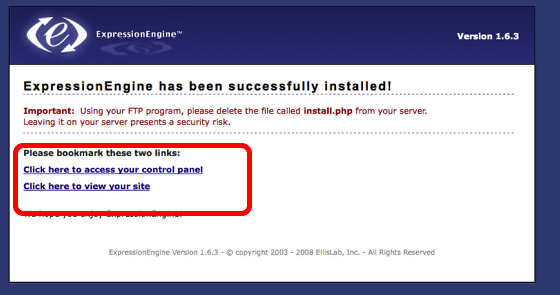
You are done! By clicking on the view site link you will see the default installation of EE. By clicking on the Control Panel link you will sent to the log in page. Either way you will need to use your FTP program to log into your hosting space and delete the install.php file. This is a security risk if you leave it up there.