
In our last post we talked about some of the reasons we are looking at Statamic. We talked about the lack of a database, creating a user so you can log into the CP and how Statamic is easily theme-able. In this post I wanted to accomplish something that I now I will use on every site that Blue Fish does. So we will be walking through how to add a contact form to your Statamic install.
I will admit that when I viewed the home page for Statamic and saw that the Form Builder was set to Coming Soon I was deflated a little bit. I can't remember the last time I made a site that did not have some sort of contact form on it. So without this functionality we would either have to not use Statamic or we would have to look at using some outside source like Wufoo. I am not keen on piecing different systems together like that so I was really hopeful that someone had created a plugin for Statamic that would allow for contact forms.
And I was right, Eric Barnes has created a plugin called Statamic Email Form that does just what we need. It is much simpler than what we usually use (the free version of FreeForm for ExpressionEngine) but for this type of site it fits the bill nicely.
If you download his package and unzip it. All that is left to do is upload the email_form folder from his zip file to the _addons folder on your server. Once it's finished uploading it is installed.
The next step is to get a form to work with. Since we already have a form on Blue Fish's website I figured that was a great place to start. If you want to use that code you can:
Your Name:
Company
This form uses just about every form element so it should give you a great place to start from. Once you've got a form to play with you will need to add a new template in Statamic that you can use for the Contact Page. I am using the default Denali template so I went to _themes/denali/templates in my Statamic install. Once you've found that location you can either duplicate an existing template like Page or just create a new html file called contact.html.
Using Eric's sample code from Statamic Email Form I ended up with this in my contact.html file.
{{ title }}
{{ email_form subject="Contact Form" to="some@emailaddress.com" required="first-name" }} {{ if error}}Error
- {{ errors }}
- {{error}}
- {{ /errors }}
Your message has been sent!
{{ else }}Your Name:There are not many parameters for the Email Form plugin. You'll notice that in this one I have used Subject, To and Required. Just like other CMSs if you need to have more than one condition in a parameter they are seperated by a pipe which looks like |. So if I wanted to make the required parameter have more than one condition it would look something like required="first-name|last-name|from". I am using the name of the field to specify which ones are required. Unfortunately all this plugin does is validate that the field is not NULL. I'm hopeful that someone with better coding chops than myself will pick that up and make it so that it is really validating that email fields have proper email addreses in them and that things like name fields do not have numerical characters in them.
The last thing left to do to make this a working page that we can view is to add it to the navigation. In the Control Panel you will go to the Pages section. Click on New Top Level Page. Select Standard Page from the modal. Give it a Title of Contact Us. Select the Contact template from the dropdown. We'll look at adding Page Content and other custom fields in the next blog post. For now just click on the save & publish button.
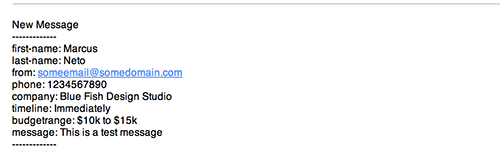
Once you've saved the entry if you go to the front end of your Statamic install you will notice the nav item has automagically been added to the side nav. Click on it and you should see the template (unstyled but we'll get to that). The first thing you should do is test it a bit and make sure it is working. Fill in the form and click on submit. You should be rewarded with an immediate email from the system that looks like so:
If you are so inclined you can use the form above with your site. To make it look a little better and give you a good starting point use the CSS below:
form{
 margin-bottom: 30px;
}
label{
 font-weight: bold;
 font-size: 16px;
 display: block;
 width: 100%;
 margin: 2% 0 1%;
 float: left;
}
.checkbox input{
 float: none;
}
label.small{
 font-weight: bold;
 font-size: 12px;
}
input{
 border: 1px solid #e3dfd4;
 border-radius: 5px;
 padding: 6px;
 float: left;
}
input.text-field{
 width: 95%;
}
.required{
 color: red;
}
.left {
 float: left;
}

.right {
 float: right;
}

.text-left {
 text-align: left;
}

.text-right {
 text-align: right;
}

.text-center {
 text-align: center;
}

.hide {
 display: none;
}

.button {
 background: #2ba6cb;
 border: 1px solid #1e728c;
 -webkit-box-shadow: 0 1px 0 rgba(255, 255, 255, 0.5) inset;
 -moz-box-shadow: 0 1px 0 rgba(255, 255, 255, 0.5) inset;
 box-shadow: 0 1px 0 rgba(255, 255, 255, 0.5) inset;
 color: white;
 cursor: pointer;
 display: inline-block;
 font-size: 14px;
 font-weight: normal;
 line-height: 1;
 margin: 0;
 padding: 10px 20px 11px;
 position: relative;
 text-align: center;
 text-decoration: none;
 -webkit-transition: background-color 0.15s ease-in-out;
 -moz-transition: background-color 0.15s ease-in-out;
 -o-transition: background-color 0.15s ease-in-out;
 transition: background-color 0.15s ease-in-out;
}

.button:hover, .button:focus {
 color: white;
 background-color: #2284a1;
}

.button:active {
 -webkit-box-shadow: 0 1px 0 rgba(0, 0, 0, 0.2) inset;
 -moz-box-shadow: 0 1px 0 rgba(0, 0, 0, 0.2) inset;
 box-shadow: 0 1px 0 rgba(0, 0, 0, 0.2) inset;
}

.button.large {
 font-size: 17px;
 padding: 15px 30px 16px;
}

.button.medium {
 font-size: 14px;
}

.button.small {
 font-size: 11px;
 padding: 7px 14px 8px;
}

.button.tiny {
 font-size: 10px;
 padding: 5px 10px 6px;
}
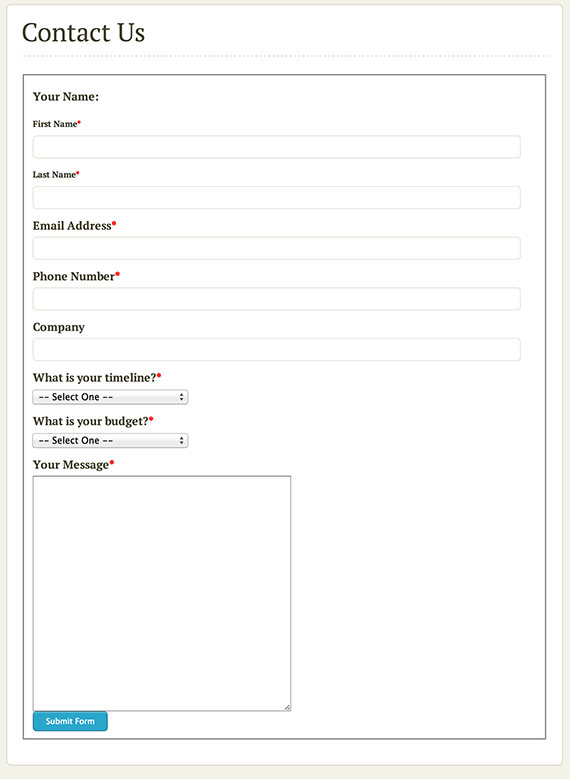
If you add that CSS to your denali.css file you will end up with a working contact form that looks like this:
Next we will take a look at creating a new Page Type. We'll probably try and bring in all of the information that we use on the Blue Fish contact page. So stay tuned!