Jared Budlong

If you have a Facebook page you're undoubtedly familiar with giving permissions to other individuals to make posts and even create ads on our behalf. What you may not have heard about yet, are Business Manager Accounts (or Business Ad Accounts). On the surface, BMAs can seem like just a more complicated way to manage your Facebook Page. While it can be more complicated, it also has some considerable benefits.
- If you're the manager/owner of a single page, it can help you stay focused on business by avoiding all the personal notifications that you would normally be inundated by on Facebook.com.
- If you own a business and have staff that needs to create or manage ads for your page, being able to keep your business ad spending separated from your personal account.
- You can give access to your page(s) to another "partner" BMA to manage. As an added bonus, they can add/remove their staff when needed via their account. And the permission you set for the "partner" BMA is the highest they will have access to create for their staff.
- If you manage multiple pages you can view some stats for all of the pages on a single screen.
- If you're an agency like us, you can add all your client pages and have access to their Ad Manager accounts if they want to handle the payments, but want/need help with the creative side.
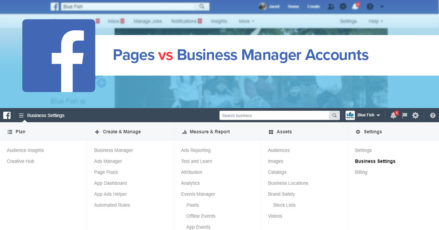
- Business.Facebook.com has a way to collaborate and share all kinds of assets.
Now that I have your attention, you're still reading this, aren't you? Let's help you get a basic BMA setup:
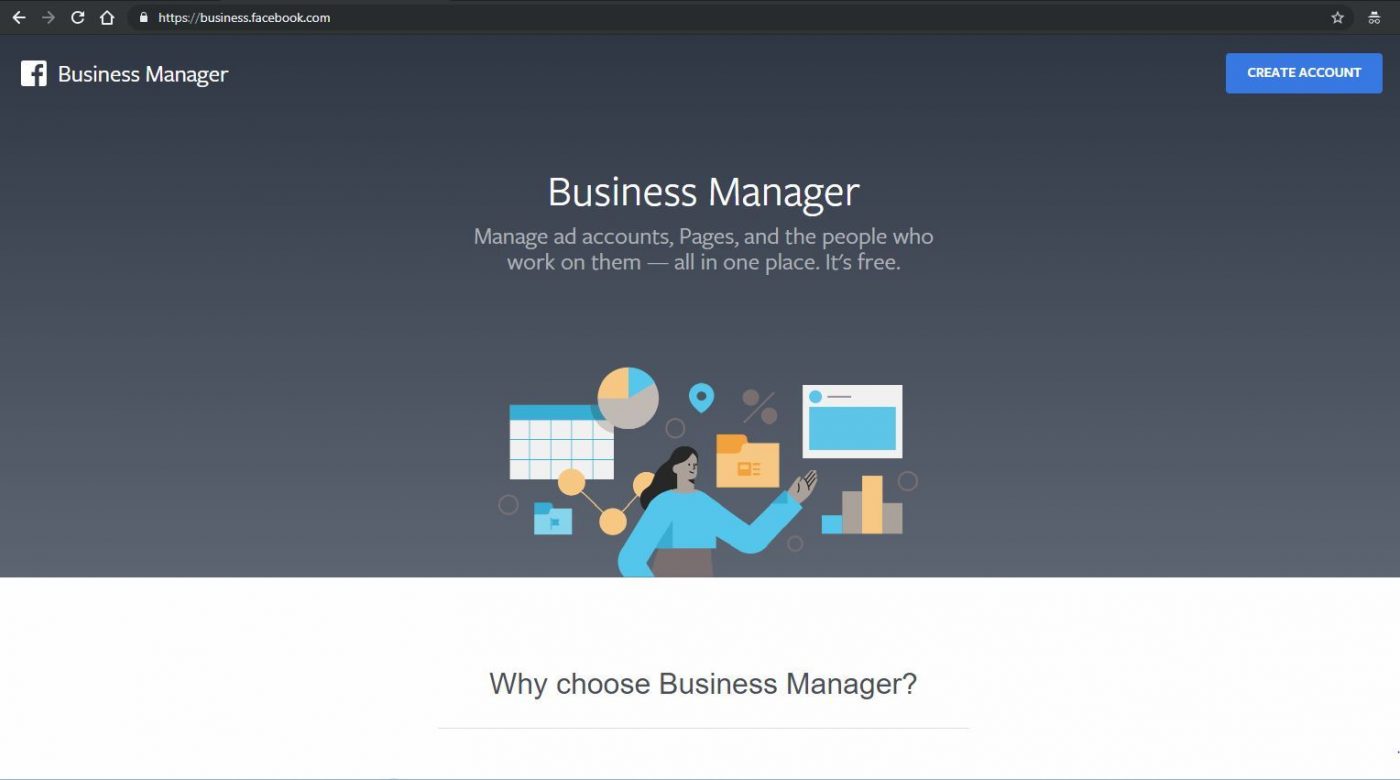
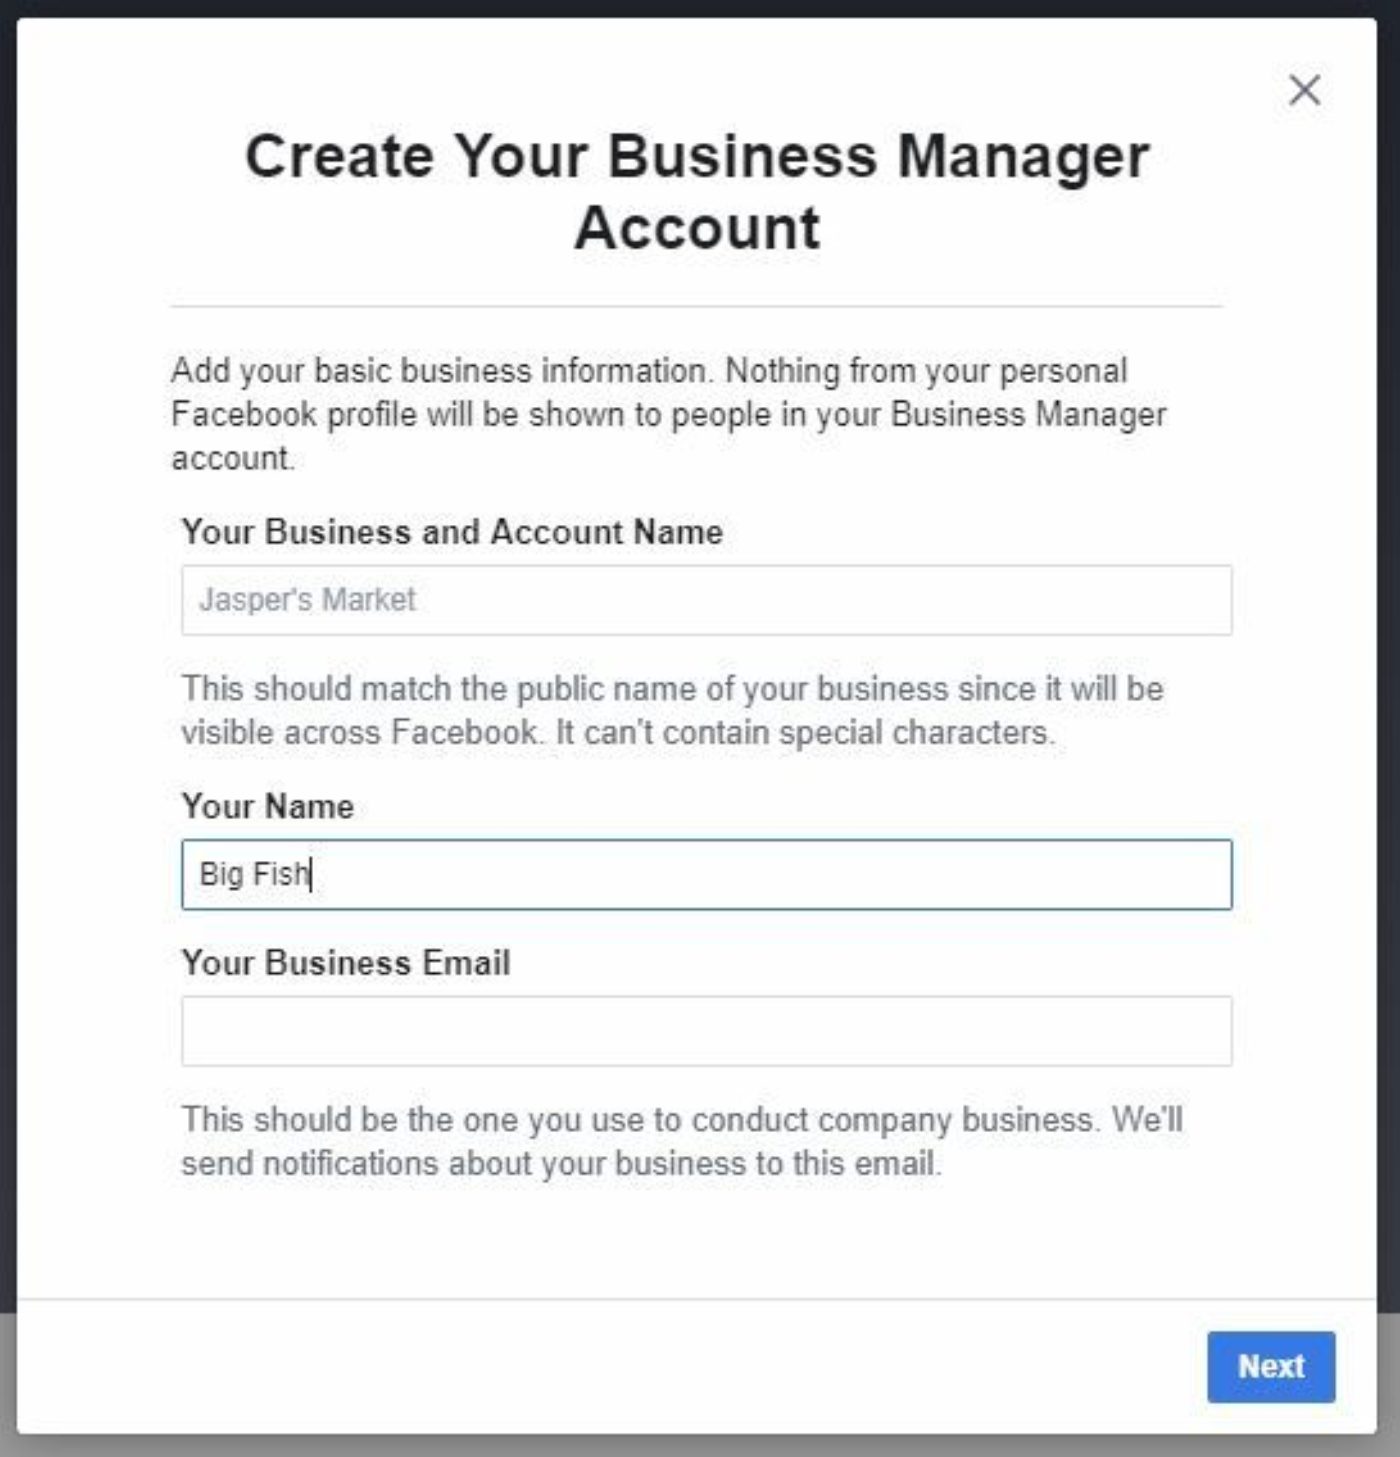
Head over to business.facebook.com where you will be prompted to "Create Account" with the light blue button in the top right corner of your browser window. The first thing you'll need to do is enter the name of your Business, your name, and your work email address. That last one might seem trivial or a nuisance, but this can actually serve you well in the long run by splitting your Facebook notifications into personal and business emails. This will take a dive into your personal account settings, and well worth it especially if you manage more than a few pages.
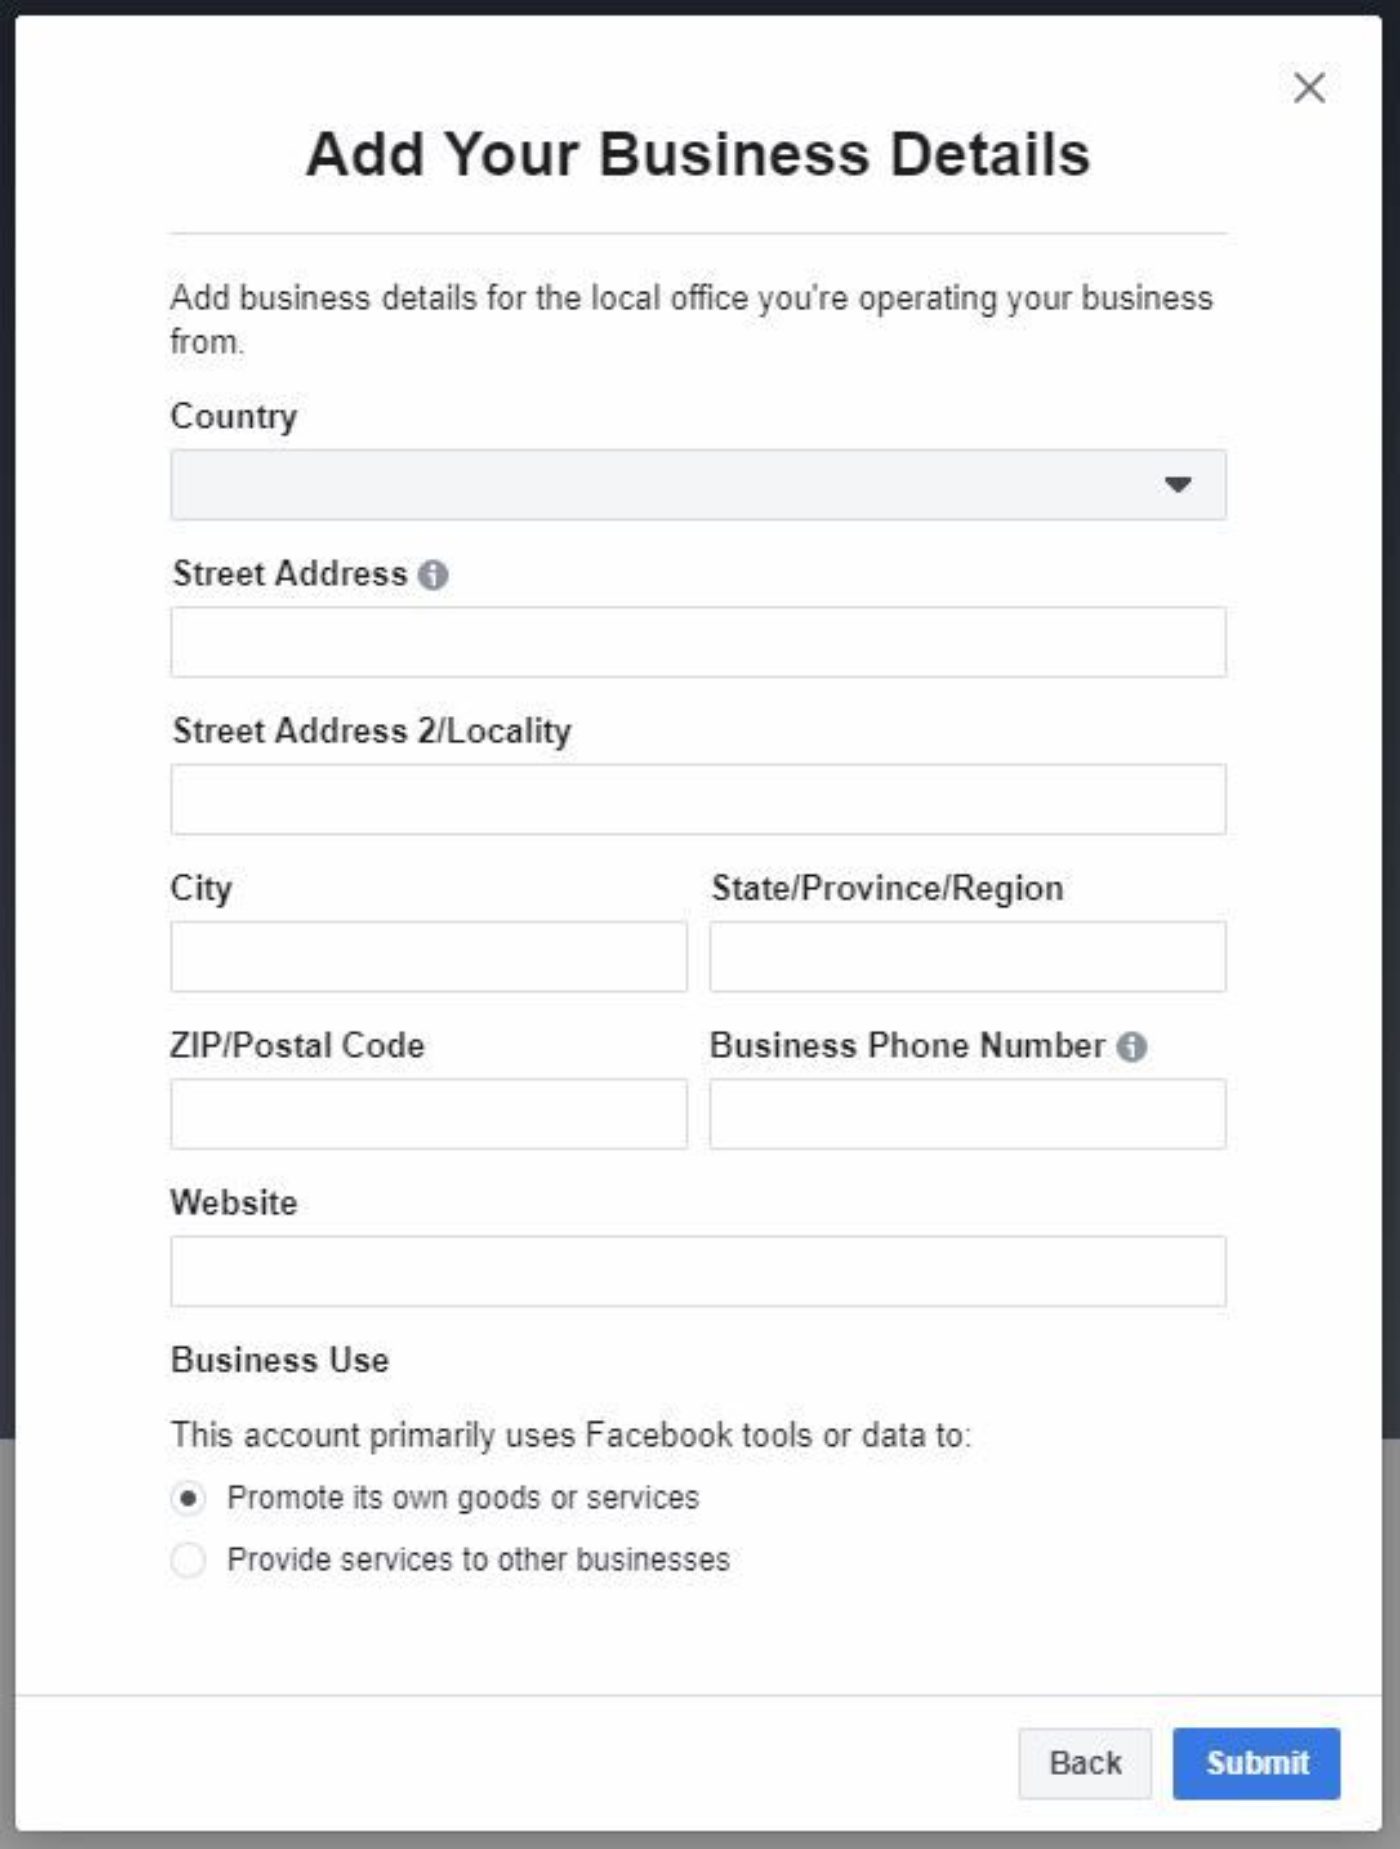
Next, you'll need to add your business information (address, website, phone number, and the business use of this BMA). If you own the pages you're managing, pick that first option ("Promote its own goods or services."), if you plan to manage other pages or place ads for other pages you'll want to select the second option.
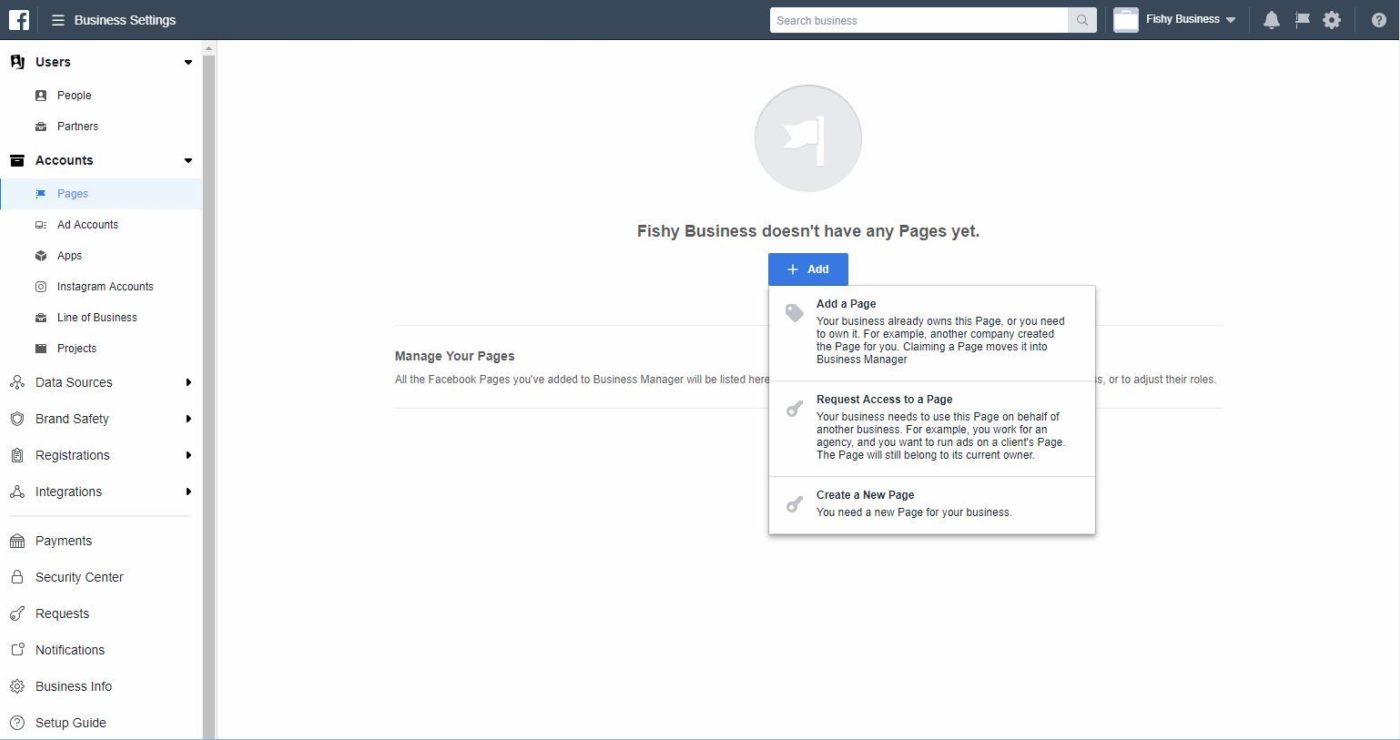
Before you can do much of anything, you'll need to add a default page to this BMA. For most of you, this will be your main business page. Go ahead and click "Business Settings", and in the left-hand navigation click "Pages" under the "Accounts" heading. Click the big blue "+ Add" button and start typing the name of your default page. If you already have permissions to manage this page, this page will automatically be added to your BMA. If not, your request will need to be approved by a page admin.
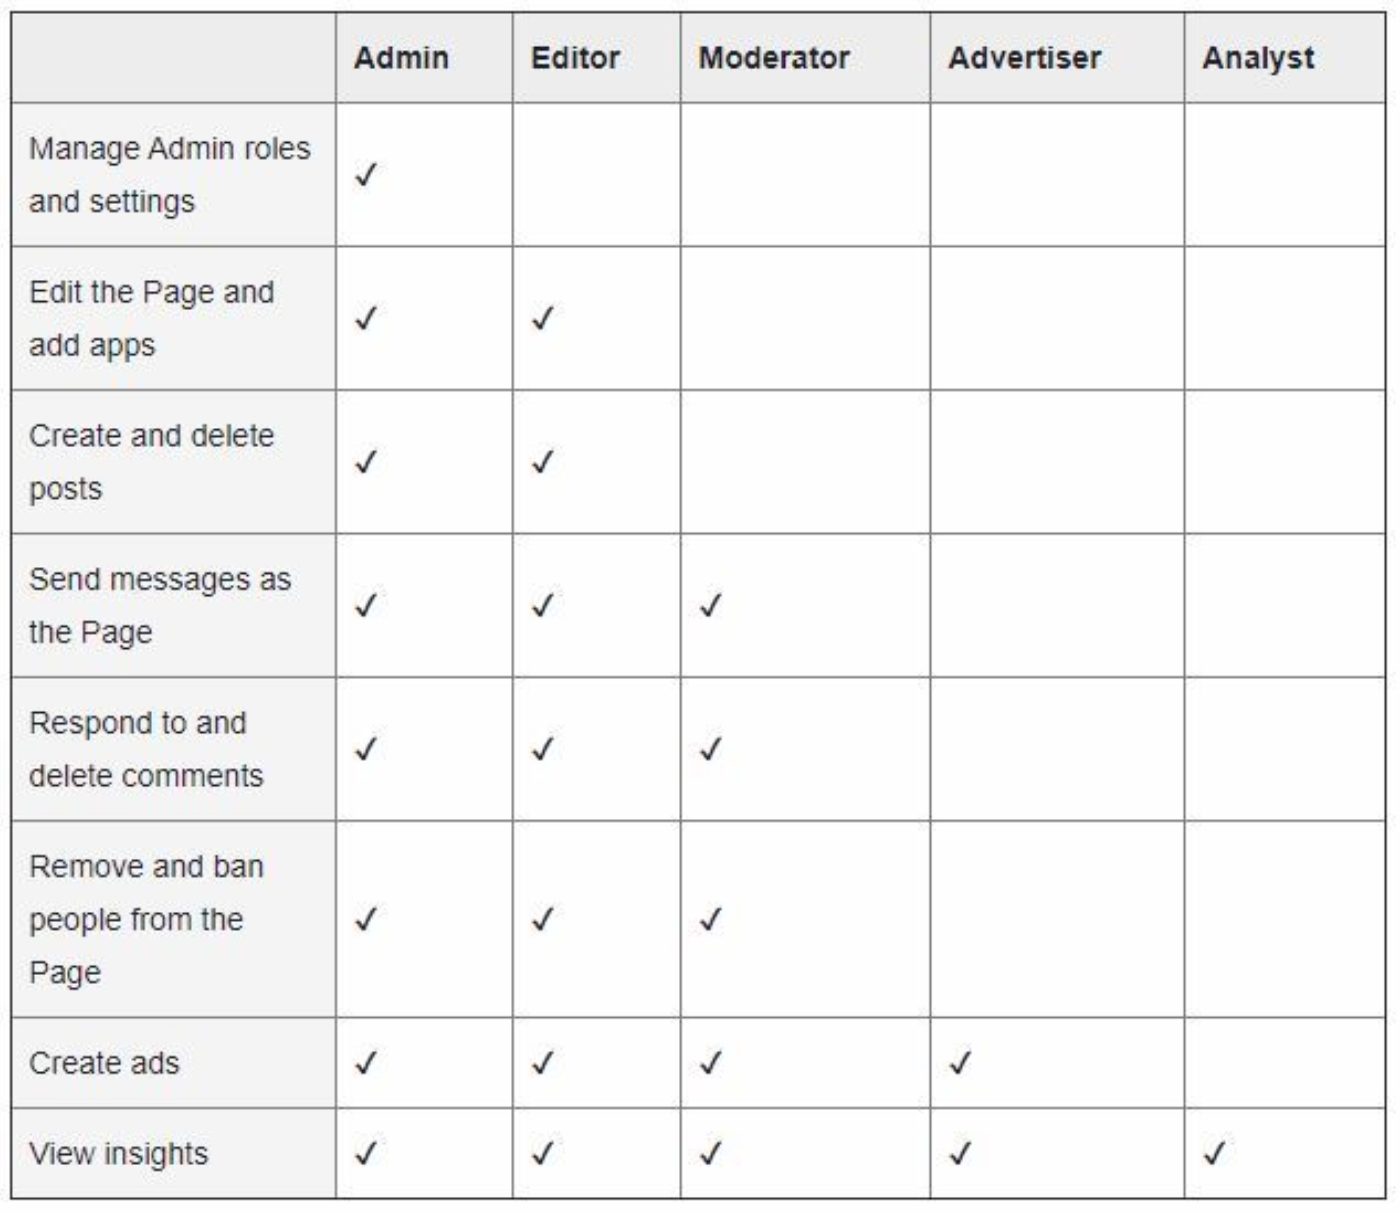
From here, if you're the sole manager of the page, you can add a partner like Blue Fish or jump straight to adding your business Ad Account. When adding a partner or person to your BMA, choose their permission level wisely. An admin of a BMA has the same permissions as you the "owner/creator". Check out the handy chart Facebook provides to break down the roles they offer. As I mentioned at the start of this article, you can share an ad account, and to protect yourself you can set a maximum spend limit on that account (which can be reset when you're ready to spend more on ads). To give a partner access to your ad account, you can either enter their BMA# or create a link that you can then send to a representative.
That should cover the basics of creating your first basic BMA and Ad Account. If you need any more help or want to add Blue Fish as a partner to help bring your marketing up a level send us an email: hi@bluefishds.com